
Flat tires can strike when you least expect them. One moment you’re cruising down the road, and the next, your vehicle’s handling feels off. Knowing how to change a tire is not just a handy skill; it’s essential for every driver. Whether you’re on a busy highway or parked in front of your favorite cafe, being able to tackle this task confidently can save you time and stress.
Imagine the freedom of knowing that you won’t be stranded by the side of the road waiting for help. With just a few basic tools and some straightforward steps, you’ll gain independence over common roadside issues. So let’s dive into an easy step-by-step guide that will empower you to handle flat tires like a pro!
Why Knowing How to Change a Tire is Important
Flat tires can happen to anyone at any time. Knowing how to change a tire ensures you won’t be left helpless in an inconvenient situation.
Beyond just convenience, this skill promotes self-sufficiency. Relying on roadside assistance might not always be feasible, especially if you’re in a remote area or during late hours.
Additionally, understanding the process helps reduce anxiety when facing unexpected car troubles. It’s empowering to know that you have the ability to address minor issues yourself.
Mastering this task also fosters a deeper connection with your vehicle. You become more aware of its needs and maintenance, enhancing your overall driving experience.
It’s a valuable skill that can come in handy for others too. Helping someone else in need not only builds community but strengthens relationships as well.
Equipment and Tools Needed
To successfully change a tire, you need the right tools at your fingertips. First and foremost is a spare tire, which should be properly inflated and ready for use.
You’ll also require a lug wrench to loosen or tighten the lug nuts. Ensure it’s the correct size for your vehicle’s wheels. A jack is essential as well; it supports the car while you work on changing the tire.
A wheel chock can add an extra layer of safety by preventing your vehicle from rolling during this process. Don’t forget gloves to keep your hands clean, and maybe even some rags for any unexpected spills.
Consider having a flashlight handy if you’re working in low-light conditions. With these tools gathered, you’ll be well-prepared to tackle that flat tire without breaking a sweat.
Step 1: Find a Safe Location
When faced with a flat tire, the first step is crucial: finding a safe location. Look for a flat, stable area away from traffic. This could be a parking lot or the shoulder of a quiet road.
Avoid busy highways and narrow streets where vehicles fly by. Safety should always come first. Turn on your hazard lights to alert other drivers of your situation.
Once you’ve found an appropriate spot, ensure you have enough room to work around your vehicle comfortably. It’s all about creating space for movement without feeling rushed or anxious.
If possible, park on level ground so that the jack operates safely and effectively. Take a moment to breathe; you’re setting yourself up for success before tackling this task head-on!
Step 2: Prepare Your Vehicle
Before you get started, make sure your vehicle is ready for the task ahead. First, turn on your hazard lights. This alerts other drivers that you’re stationary and may need assistance.
Next, engage the parking brake to prevent any unwanted movement while you work. It’s a simple step but crucial for safety.
If possible, place wheel wedges against the tires opposite from where you’re changing. This extra precaution helps secure your car in place.
Now take a moment to gather all necessary tools within reach. You’ll want to have everything organized before getting into the main process of tire changing.
Check your manual if needed; it often provides specific instructions related to jacking up your particular model. Preparation sets the stage for an efficient and safe tire change experience.
Step 3: Loosen the Lug Nuts
With your vehicle securely parked, it’s time to tackle those lug nuts. Grab your tire iron or a lug wrench, which is usually found in your car’s trunk.
Start by placing the wrench over one of the lug nuts. It should fit snugly. The key here is to turn it counterclockwise.
Apply pressure firmly but carefully; if they’re stuck, be patient and use some muscle. A gentle tap with a hammer on the wrench can help break any rust or debris holding them tight.
Work systematically around the wheel until each nut feels loose enough for easy removal later on. Remember not to remove them completely just yet—loosen them all before moving forward!
Step 4: Jack Up the Vehicle
Once you’ve removed the hubcap, it’s time to jack up your vehicle. This step is crucial for safely lifting your car off the ground.
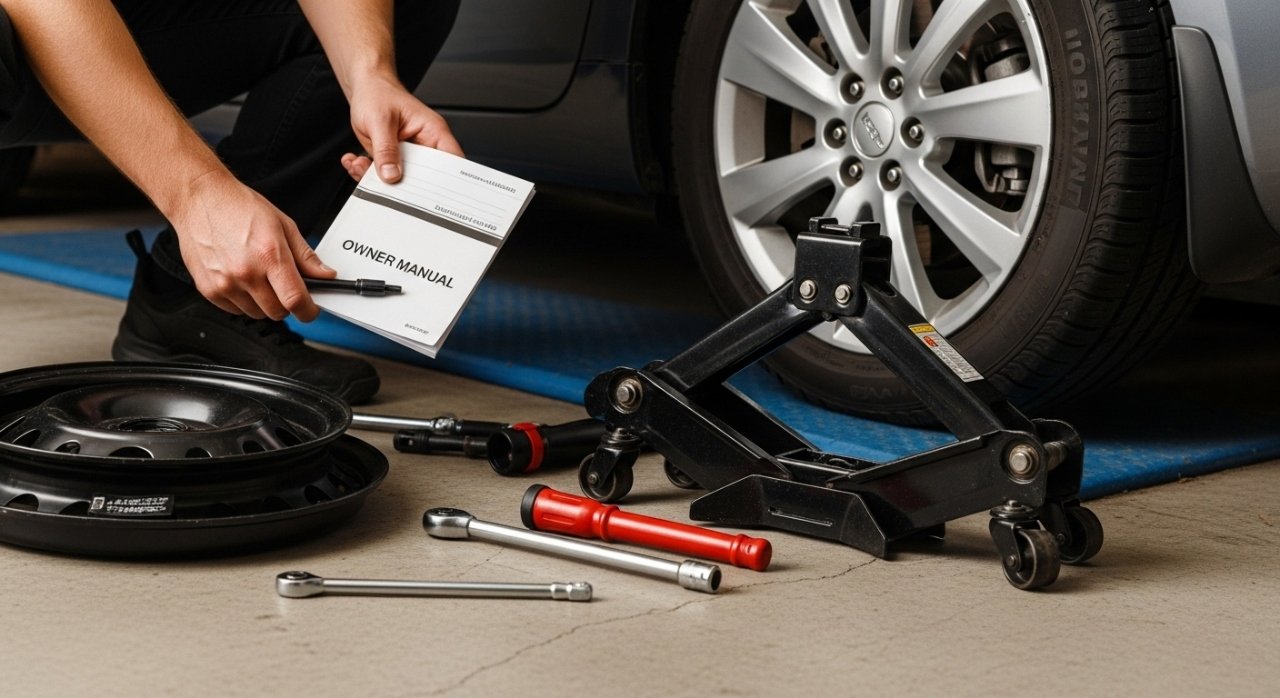
Position the jack under a sturdy part of the frame or designated jacking point. Consult your owner’s manual if you’re unsure where this is located.
Ensure that the surface beneath is flat and stable. Uneven ground can lead to accidents during this process.
Start raising the vehicle by turning the jack handle clockwise. Keep an eye on its stability as it ascends; make sure nothing appears loose or wobbly.
Lift until there’s enough clearance for your spare tire to fit comfortably underneath. A few inches will do—don’t go overboard with height just yet!
Step 5: Remove the Flat Tire
With the lug nuts loosened, it’s time to take off the flat tire. Grab your hands firmly around the wheel.
Pull straight towards you, using a little muscle if needed. The tire may be snug on its hub due to dirt or rust. If that’s the case, give it a gentle kick from behind to help dislodge it.
As you remove the tire, keep an eye out for any debris stuck in between the rim and brake components. This is also a great opportunity to inspect your brakes while you’re at it.
Once it’s free, set it aside carefully—preferably lying flat on ground—so it won’t roll away or cause further inconvenience during this process. Keep everything organized; you’ll appreciate having a clear workspace when you move on to installing your spare tire next!
Step 6: Install the Spare Tire
With the flat tire removed, it’s time to install the spare tire. Grab your spare and position it carefully against the wheel hub.
Align the holes in the spare with the wheel studs. This step can be tricky, so don’t hesitate to wiggle it a bit until everything fits snugly.
Once aligned, push the tire onto the hub firmly. It should slide into place effortlessly if done correctly.
Next, take your lug nuts and hand-tighten them onto each stud. Start with one nut and move diagonally across to ensure even pressure as you tighten all of them slightly before securing them fully later.
Be sure not to over-tighten just yet; you want enough grip without straining any parts at this stage. This is an essential moment—taking care now will pay off when you’re back on solid ground!
Step 7: Lower the Vehicle and Tighten Lug Nuts
Once you’ve successfully installed the spare tire, it’s time to bring your vehicle back down to the ground. Carefully lower the jack until your car is resting firmly on all four tires once again.
Now that your vehicle is stable, it’s crucial to tighten the lug nuts securely. Use your wrench and turn each nut clockwise. It’s important to follow a crisscross pattern when tightening them. This ensures even distribution of pressure across the wheel, which enhances safety while driving.
Make sure each lug nut feels snug before finishing up. After everything is tightened and secure, store all tools and equipment properly in your vehicle’s trunk for future use.
Knowing how to change a tire not only saves you time but also gives you confidence on the road. You’ll feel more prepared for unexpected situations, knowing that you’re equipped with this essential skill.